


Why Can't I Find My Camera on the Network Using the Search Tool?

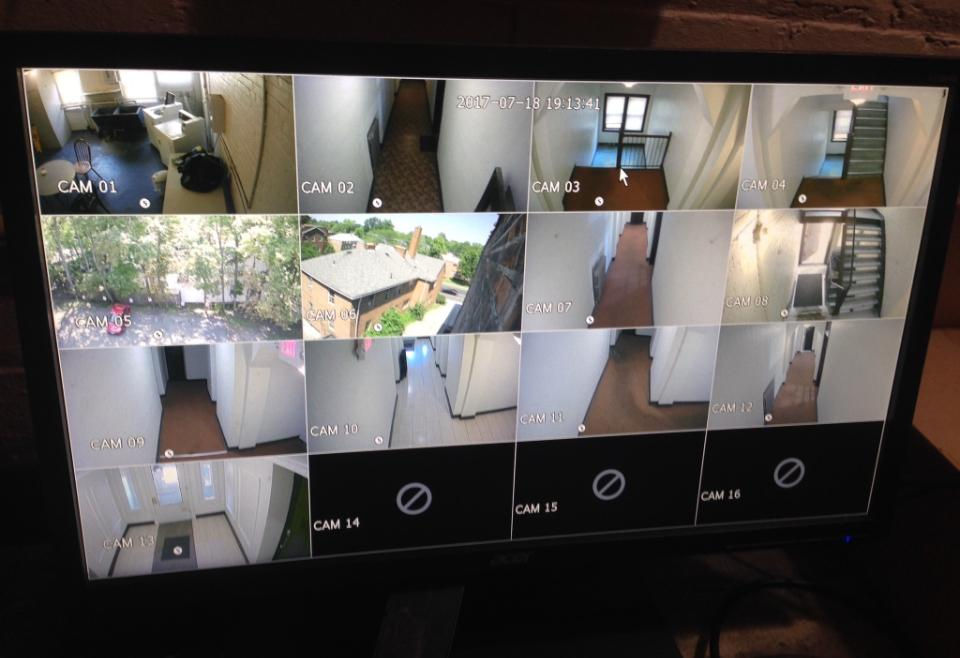
You plug a new IP camera into your network, open up the manufacturer’s search utility (like Hikvision’s SADP Tool, Dahua's ConfigTool, or a generic ONVIF locator), click "Search," and... nothing. The software scans the network, but the list remains completely empty. Your camera is powered on, the network lights are flashing, yet it acts completely invisible.
At Cleveland Security Cameras, our field techs deal with "ghost" IP cameras all the time. Whether we are integrating a new high-definition IP camera system at a warehouse in industrial Cleveland or updating a residential system in Shaker Heights, this issue is rarely caused by a dead camera. Instead, it is almost always a classic logical networking disconnect.
Let’s look at why your search software is failing to find your camera and map out the exact sequence to bring it online.
1. Why Do IP Cameras Become Invisible?
To find a camera, search tools send out a broadcast request across the local network, hoping the camera will respond with its MAC address and IP. If that handshake fails, the camera remains hidden.
An IP Camera Network Scan and Config Tool. Source: cctvdesk
The Main Culprits Behind "Ghost" Cameras:
Subnet Mismatch: This is the number one cause. Your computer is on one subnet (e.g., 192.168.1.X), but the brand-new camera has a default static IP from the factory on a completely different subnet (e.g., 192.168.0.64 or 192.168.254.XX). Because the subnets don't match, they cannot talk directly without a router bridging them.
Plugged into the Back of the NVR: If you plugged your IP camera directly into one of the PoE ports on the back of your NVR, you will never find it with a PC search tool on your home Wi-Fi. The NVR creates its own isolated, private subnet specifically for the cameras to protect them from home traffic.
Software Blocked by Firewall: Windows Defender or third-party antivirus software often flags network scanning tools as malicious "network mappers" and completely blocks their ability to send out search signals.
Isolate Wi-Fi Settings (AP Isolation): Many modern routers have a security feature called "Access Point (AP) Isolation" enabled. This prevents wireless devices (like your laptop) from seeing or talking to wired devices (like your IP camera) on the same network.
2. Diagnosing Your Invisible IP Camera
Follow this logic-driven troubleshooting sequence to find your camera on the network:
1
Temporarily Disable Your Antivirus and Firewall
2 Minutes
1.Temporarily Disable Your Antivirus and Firewall:2 Minutes.
Your search tool needs to send out UDP broadcast packets to locate offline devices. Firewalls block this behavior by default.
Temporarily disable Windows Defender or your third-party antivirus firewall, close your camera search tool, run it again as an Administrator, and click "Refresh."
2
Check Your Physical Connection Pathway
5 Minutes
2.Check Your Physical Connection Pathway:5 Minutes.
Are you searching for a camera plugged directly into the back of an NVR? If yes, unplug it and connect it directly to your primary network router or an external PoE switch that shares a connection with your computer.
Note: If you must keep it plugged into the NVR, you must log into the NVR's own system menu on a monitor to find and configure the camera, rather than using your computer.
3
Temporarily Change Your Computer's Subnet
10 Minutes
3.Temporarily Change Your Computer's Subnet:10 Minutes.
If you know your camera’s factory default IP address (check the camera manual or the label on the box), you can force your computer to find it by temporarily changing your computer's static IP to match the camera's subnet.
For example, if your camera's default is 192.168.0.64 and your computer is on 192.168.1.15: Go to your PC's Network Connections, select your adapter, go to Properties > IPv4, and manually assign your PC a static IP of 192.168.0.100. Now, run the search tool again. The camera should instantly appear.
4
Change the Camera to DHCP or Match Your Network
5 Minutes
4.Change the Camera to DHCP or Match Your Network:5 Minutes.
Once the camera appears in the search tool, select it and change its network settings.
Switch it to DHCP so your router automatically assigns it a proper, working IP address on your primary network. Alternatively, manually assign it a static IP that fits your home network range (e.g., 192.168.1.201). Save the changes, switch your computer's IP settings back to automatic, and reboot the camera.
Common Manufacturer Default IP Addresses
If you are stuck trying to figure out which subnet your camera is hiding on, reference this table of factory default IP configurations for major brands:
Manufacturer | Default IP Address | Default Username | Software Tool |
Hikvision / LTS | 192.168.1.64 | admin (Requires activation) | SADP Tool |
Dahua / Lorex | 192.168.1.108 | admin / admin | ConfigTool |
Axis | 192.168.0.90 (or DHCP) | root (Requires activation) | AXIS IP Utility |
Amcrest | 192.168.1.108 | admin / admin | Amcrest IP Config |
Generic ONVIF | 192.168.1.10 or 192.168.0.10 | admin / (blank or 12345) | ONVIF Device Manager |
Using Manufacturer IP Discovery Tools Like SADP. Source: CCTV HELP DESK
Pro Warning on Unactivated Cameras: Many modern, secure cameras (like Hikvision and Axis) ship from the factory in an "Inactive" state. They do not have a default password and will not stream video or accept standard logins until you locate them with their specific search utility and "activate" them by creating a strong, unique password.
Get Professional Network and Security Integration
Dealing with subnet masks, network gateways, and port forwarding rules can get incredibly frustrating. If you've tried everything and your cameras are still refusing to communicate with your network, we can help.
At Cleveland Security Cameras, we specialize in professional surveillance integration. We ensure your IP cameras, NVRs, and local network switches are perfectly aligned, securely segmented, and fully optimized for seamless local and remote viewing.
Need Expert Help with Your Security Cameras in Cleveland?
Whether you’re locked out of your system, need a professional installation, want to upgrade to NDAA-compliant cameras, or require remote troubleshooting support — the team at Cleveland Security Cameras is here to help.
Our local experts can:
Install new security camera systems
Reset and recover access to existing cameras and NVRs
Upgrade or replace restricted/outdated equipment
Provide remote support and ongoing maintenance
Call us today at 2163338245
We proudly serve homeowners and businesses across Cleveland and Northeast Ohio with reliable, professional security solutions.
Suggested Follow-Up Reading
How to Correctly Set Up Port Forwarding for Remote Camera Viewing
The Ultimate Guide to Designing an Isolated Surveillance Network (VLAN)
How to Perform a Hard Factory Reset on an Unresponsive IP Camera
Understanding ONVIF Protocols: How to Mix Camera Brands Successfully


Comments